
Deep portrait skin tones
How to mix dark skin tones in acrylic without ashiness
Deep and rich skin tones contain vibrant undertones of copper, mahogany, golden amber and cool espresso. Beginners often make the mistake of adding black or too much white, resulting in a dull, chalky or ashen appearance. Mastering dark skin in acrylic requires building chromatic dark foundations with rich warm and cool complements.
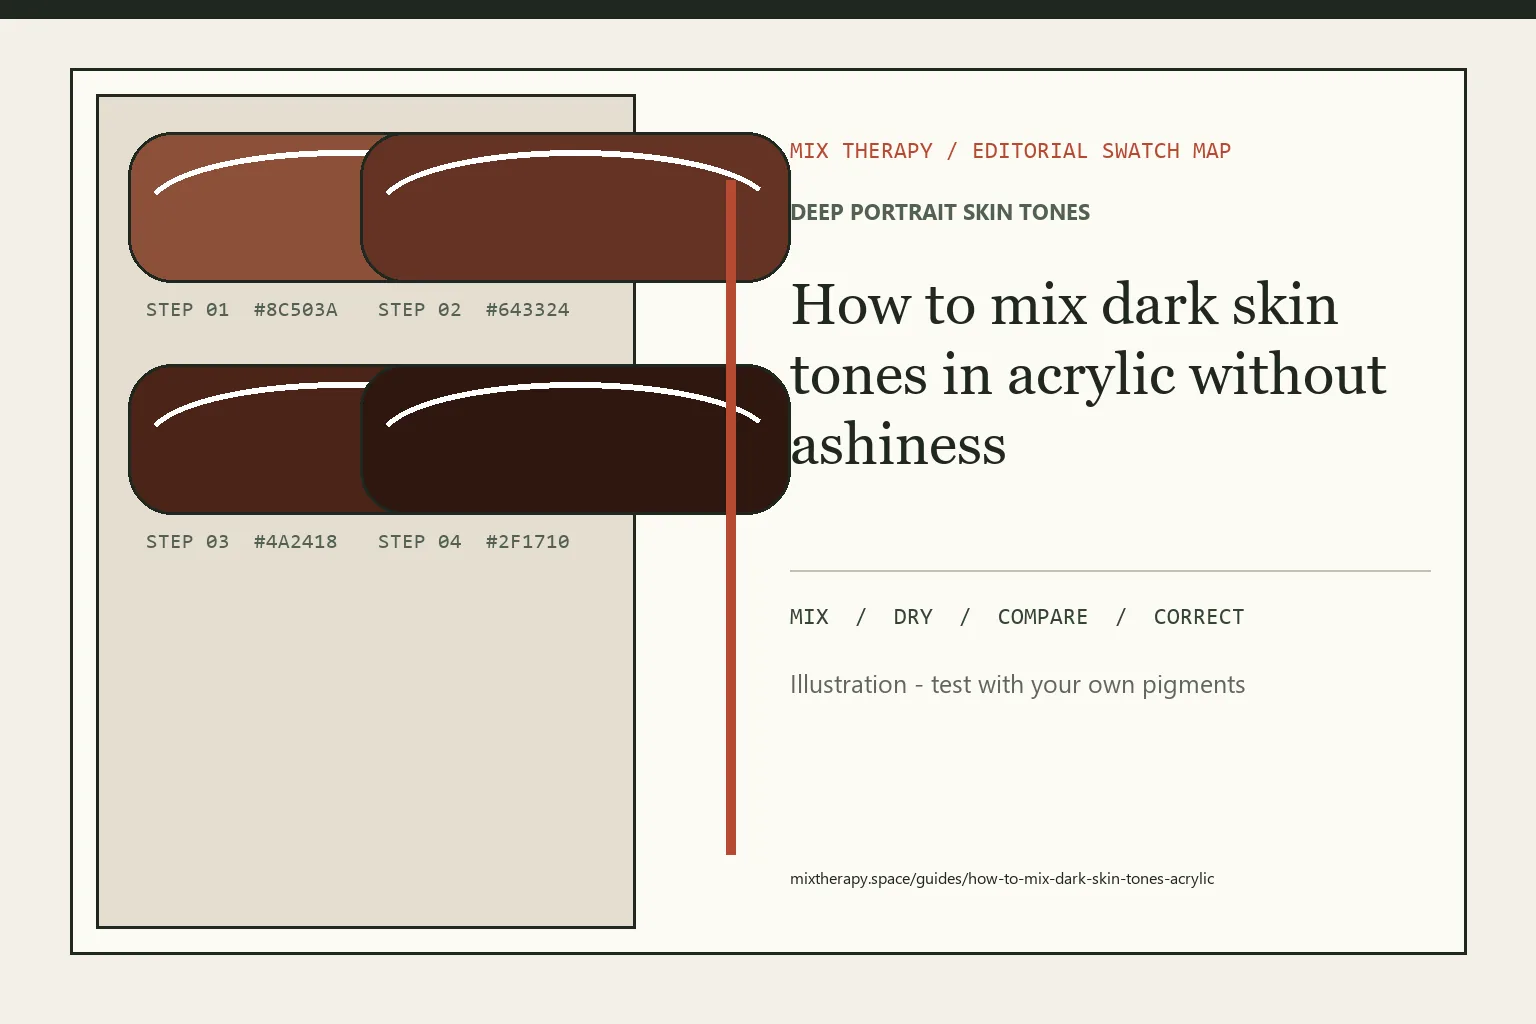
Start here
The short answer
To explore deep skin-tone mixtures, start with burnt umber and ultramarine blue as one shadow option, then compare warmer midtone branches made with burnt sienna, quinacridone magenta and yellow ochre. When lightening, test pure white and warmer premixed tints separately because the correct value, chroma and temperature depend on the observed light.
Deep skin tone ratios
Build chromatic warmth and controlled undertones
Combine rich earth pigments with transparent red and blue accents.
| Complexion tone | Undertone character | Starting direction |
|---|---|---|
| Warm Mahogany | Red-copper warmth | 55% Burnt Sienna + 30% Burnt Umber + 15% Yellow Ochre |
| Golden Bronze | Luminous amber warmth | 50% Yellow Ochre + 35% Raw Sienna + 15% Burnt Sienna |
| Deep Espresso | Rich cool shadow dark | 60% Burnt Umber + 25% Ultramarine + 15% Alizarin |
| Sunlit Highlight | Golden radiant highlight | 70% Unbleached Titanium + 20% Ochre + 10% Sienna |
Use transparent red and earth pigments to keep deep values glowing rather than opaque and chalky.
01
Understand the rich chromatic variety of deep skin
Dark complexions are not just darker values of light skin; they have distinct optical qualities characterized by high surface reflectivity, warm undertones and rich subsurface scattering. Depending on lighting and heritage, undertones range from cool blue-black and rich plum to golden olive and fiery bronze.
Before mixing, identify the dominant undertone under your studio light. Look at the transition between highlight and midtone to see whether the skin reflects golden amber, rose mahogany, or cool violet daylight.
02
Build deep shadow foundations without flat carbon black
A strong carbon or mars black can flatten a warm shadow if it is added before hue and temperature are diagnosed. One adjustable alternative is a chromatic dark made from burnt umber (PBr7) with ultramarine blue (PB29) or dioxazine violet.
Burnt umber provides an earth-brown direction while ultramarine supplies a cooler shadow option. Test the pair beside the subject and the surrounding local colors; no single dark mixture represents every complexion or lighting condition.
03
Illuminate midtones with quinacridone and warm earth
To explore warm midtones along the cheeks, forehead, and jaw, blend burnt sienna with yellow ochre and a touch of quinacridone magenta or red. Transparent high-chroma pigments can help preserve a luminous direction when the observed color calls for it.
If an opaque red makes a tested mixture look cloudy, compare a more transparent red in a separate swatch. Choose by the observed value, temperature and chroma rather than treating one pigment family as universally correct.
04
Lighten highlights without creating ashen chalkiness
Adding a large amount of opaque titanium white directly to a dark mixture can raise value quickly while cooling and reducing chroma, which may look ashen in some contexts.
For a warmer highlight direction, first test titanium white with yellow ochre, raw sienna, or a warm yellow, then compare the dry swatch with the subject under the same light. Keep a neutral or cool highlight option available when the observed light requires it.
05
Calibrate for acrylic dry shift and specular highlights
Specular highlights reflect the environment and can vary widely with skin, lighting and surface conditions. Acrylic paint can also change value and sheen as it dries, so subtle transitions should be checked on a dry swatch.
Resolve value and temperature in the paint film first. If a protective finish is later desired, follow the manufacturer's drying, isolation-coat and varnish guidance; varnish should not be used to repair an inaccurate color relationship.
Troubleshooting
Fix common deep skin mixing problems
Restore warmth, depth and transparency with targeted pigment corrections.
| Visible problem | Probable cause | Targeted correction |
|---|---|---|
| Looks ashen and chalky | White raised value and reduced chroma too quickly | Compare warm, neutral and cool highlight branches with a dry swatch. |
| Looks muddy and lifeless | A dark or opaque addition suppressed the hue | Compare a burnt-umber and ultramarine chromatic-dark branch. |
| Looks too orange or sunburned | Burnt sienna or cadmium red dominates | Add a touch of ultramarine or burnt umber. |
| Looks green or sickly | Yellow ochre clashed with cool blue | Introduce quinacridone red or burnt sienna warmth. |
Free studio printables
Record the test instead of guessing again.
Use the worksheet beside the palette, then keep the dry result with the painting notes. Each PDF is free, low-ink and formatted for US Letter paper.
See both printables and the full methodStudio questions
Questions painters ask
What colors can start a dark skin-tone study in acrylic?
Burnt umber, burnt sienna, ultramarine blue, yellow ochre and quinacridone magenta form one adjustable starting palette. No fixed set represents every complexion or lighting condition, so compare each dry swatch with the subject.
Why can a dark skin-tone mixture look ashen or gray?
Too much opaque white can raise value while reducing chroma and shifting temperature. Compare warm, neutral and cool highlight branches with a dry swatch instead of relying on one universal correction.
How do I mix highlights for dark skin?
Start from the observed light. Test titanium white with small amounts of yellow ochre, raw sienna or a chosen local color, then adjust value and temperature after the swatch dries.