
Studio reference chart
How to make an acrylic color mixing chart
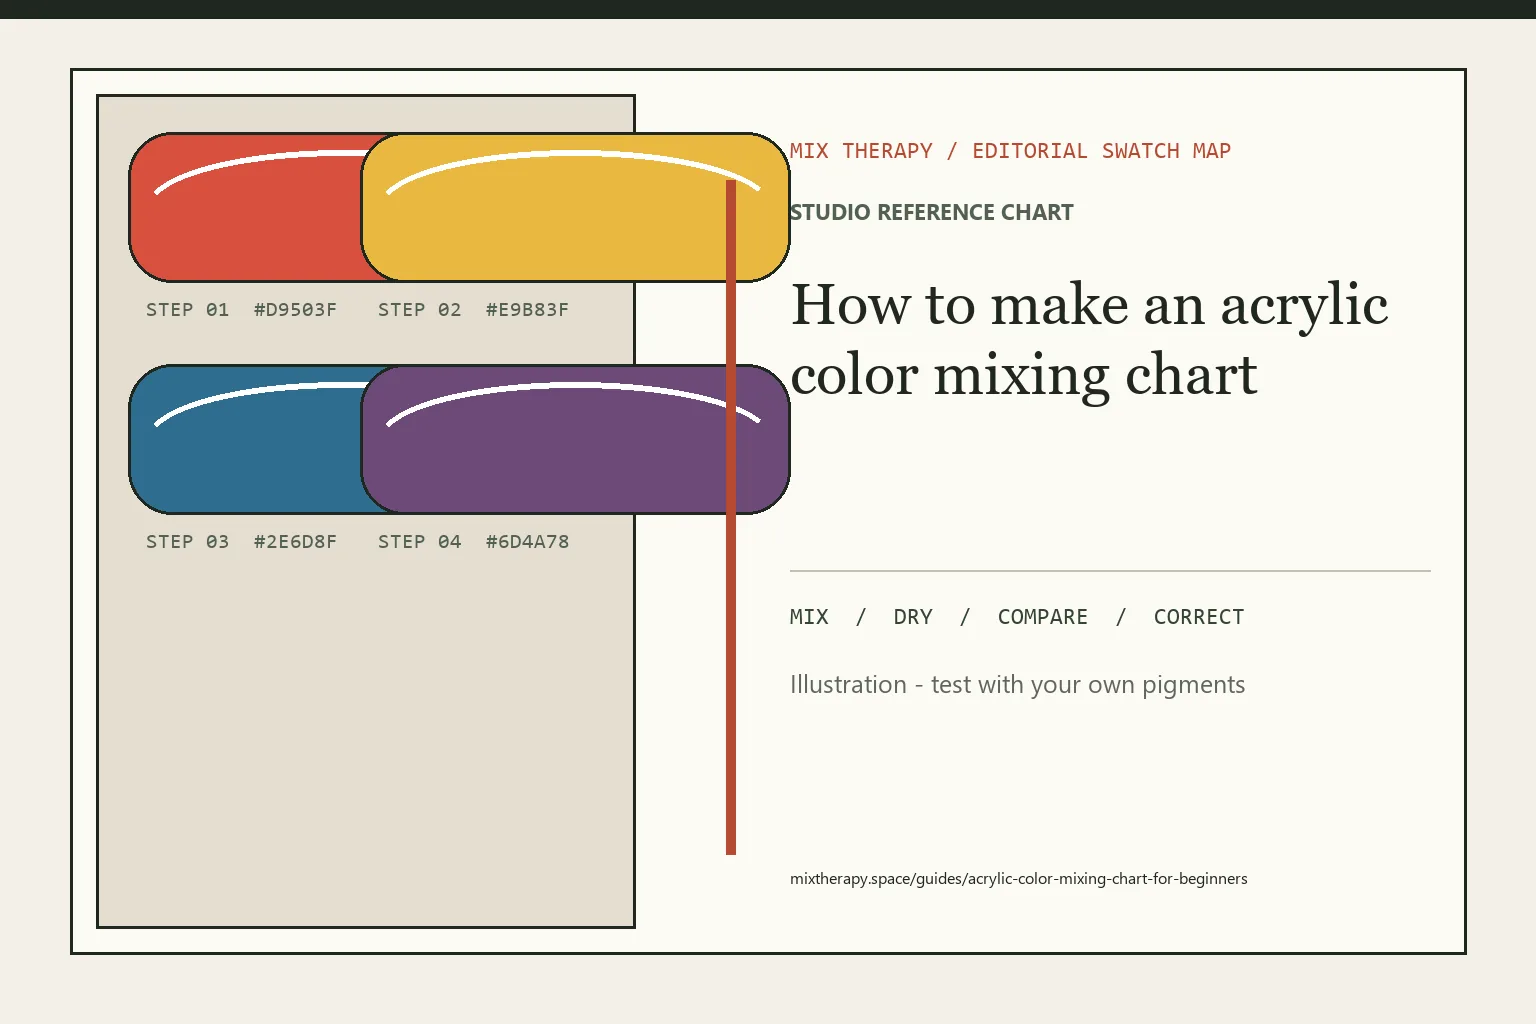
A color chart is most useful when it answers a studio question, not when it becomes a decorative grid. A compact pair-mixing chart shows what your exact tubes produce, how strong each pigment is and where clean color turns into a useful neutral after the acrylic dries.
Start here
The short answer
Choose three to five chromatic paints plus white, draw a labeled grid and cross every color with every other color. Mix measured parts for the main intersections, then make a second lighter sample with white. Keep thickness, surface and lighting consistent, let the chart dry and label pigment codes as well as paint names.
Chart plan
Build information you can reuse
A small, legible chart is more valuable than a huge grid with unknown proportions.
| Layer | What to paint | What it teaches |
|---|---|---|
| Mass tone | Pair near full strength | Dark balance and transparency. |
| Tint | Same pair plus white | Undertone and chroma. |
| Bias step | More of color A or B | Direction and tinting strength. |
| Dry label | Recipe and pigment codes | Repeatability later. |
Use a surface close to your normal painting ground. Paper and primed panel can make the same paint film look different.
01
Choose a question and a manageable palette
Decide whether the chart should map a five-color beginner palette, compare two blues or find neutral mixtures for one painting. A defined question controls the grid size and prevents chart fatigue. Three chromatic colors plus white already create enough comparisons for a useful first study.
List the paint name, brand and color-index code from each label. Names such as primary red or cerulean hue may describe different formulas across manufacturers. Pigment identity makes the chart useful even after a tube is replaced.
02
Prepare a consistent grid
Use primed paper, canvas sheet or panel and draw cells large enough for an opaque stroke and a thin edge. Put the same colors along the top and side. The diagonal holds each tube alone; every other intersection records a pair.
Choose one measuring tool, such as the same palette-knife scoop, and wipe it between colors. Equal parts are not a perfect optical balance because tinting strength differs, but they provide a repeatable baseline from which bias steps can be compared.
03
Mix the pair before adding white
Combine the measured pair completely and paint a mass-tone sample first. Pull a thin edge beside it to expose transparency and undertone. Then move a small portion into a separate white pile for the tint instead of adding white to the entire mixture.
The tint often reveals information hidden in a dark mass. Ultramarine and burnt sienna may appear nearly black in thick paint but show a blue-gray or warm brown bias after white is added. Record that direction instead of labeling the pair simply “black.”
04
Add only the comparisons that change decisions
If equal parts lean strongly toward one pigment, add one biased sample such as three parts weak color to one part strong color. There is no need to fill every possible ratio. Include the step that makes the pair usable for your subjects.
Optional rows can test glazing, medium or opacity, but change only one variable per chart. A chart that mixes ratios, grounds and mediums without clear labels cannot explain which variable caused the result.
05
Dry, label and store the chart
Let every cell dry naturally before making final notes. Add the date, ground, brand, pigment codes, approximate parts and any medium. Photograph the chart under neutral light for quick reference, while keeping the physical original as the color authority.
Store charts by palette or project and link successful intersections to saved Mix Therapy recipes. Over time, a small library of exact-paint charts becomes more practical than a generic wheel printed with colors your tubes cannot reproduce.
Troubleshooting
Fix a chart that is hard to use
Clarity and repeatability matter more than the number of swatches.
| Problem | Why it happens | Improvement |
|---|---|---|
| Cells look almost black | Only mass tones were painted | Add tints and thin drawdowns to reveal undertones. |
| Ratios cannot be repeated | Parts were not measured | Use one consistent scoop and write the ratio beside the cell. |
| Chart buckles or absorbs paint | Surface was not prepared | Prime the sheet or use the same ground as the artwork. |
| Labels become confusing | Marketing names only | Add manufacturer and pigment codes before painting. |
Free studio printables
Record the test instead of guessing again.
Use the worksheet beside the palette, then keep the dry result with the painting notes. Each PDF is free, low-ink and formatted for US Letter paper.
See both printables and the full methodStudio questions
Questions painters ask
How many colors should be on a beginner mixing chart?
Start with three chromatic colors and white, or a five-color limited palette. A smaller chart is easier to finish, understand and repeat.
Should every chart mixture use equal parts?
Equal parts are a useful baseline, not a universal neutral. Add a biased step when pigment strength makes the equal mixture uninformative.
Do I need black on the chart?
Only if black is part of your working palette. It can be useful to compare tube black with a chromatic dark made from complementary colors.