
Color matching method
How to match acrylic paint from a reference photo
A photo gives you thousands of pixels, but a useful paint decision starts with one target under known lighting. The goal is not to copy a screen exactly. It is to create a repeatable starting mixture, test it on the real surface and make one controlled correction.
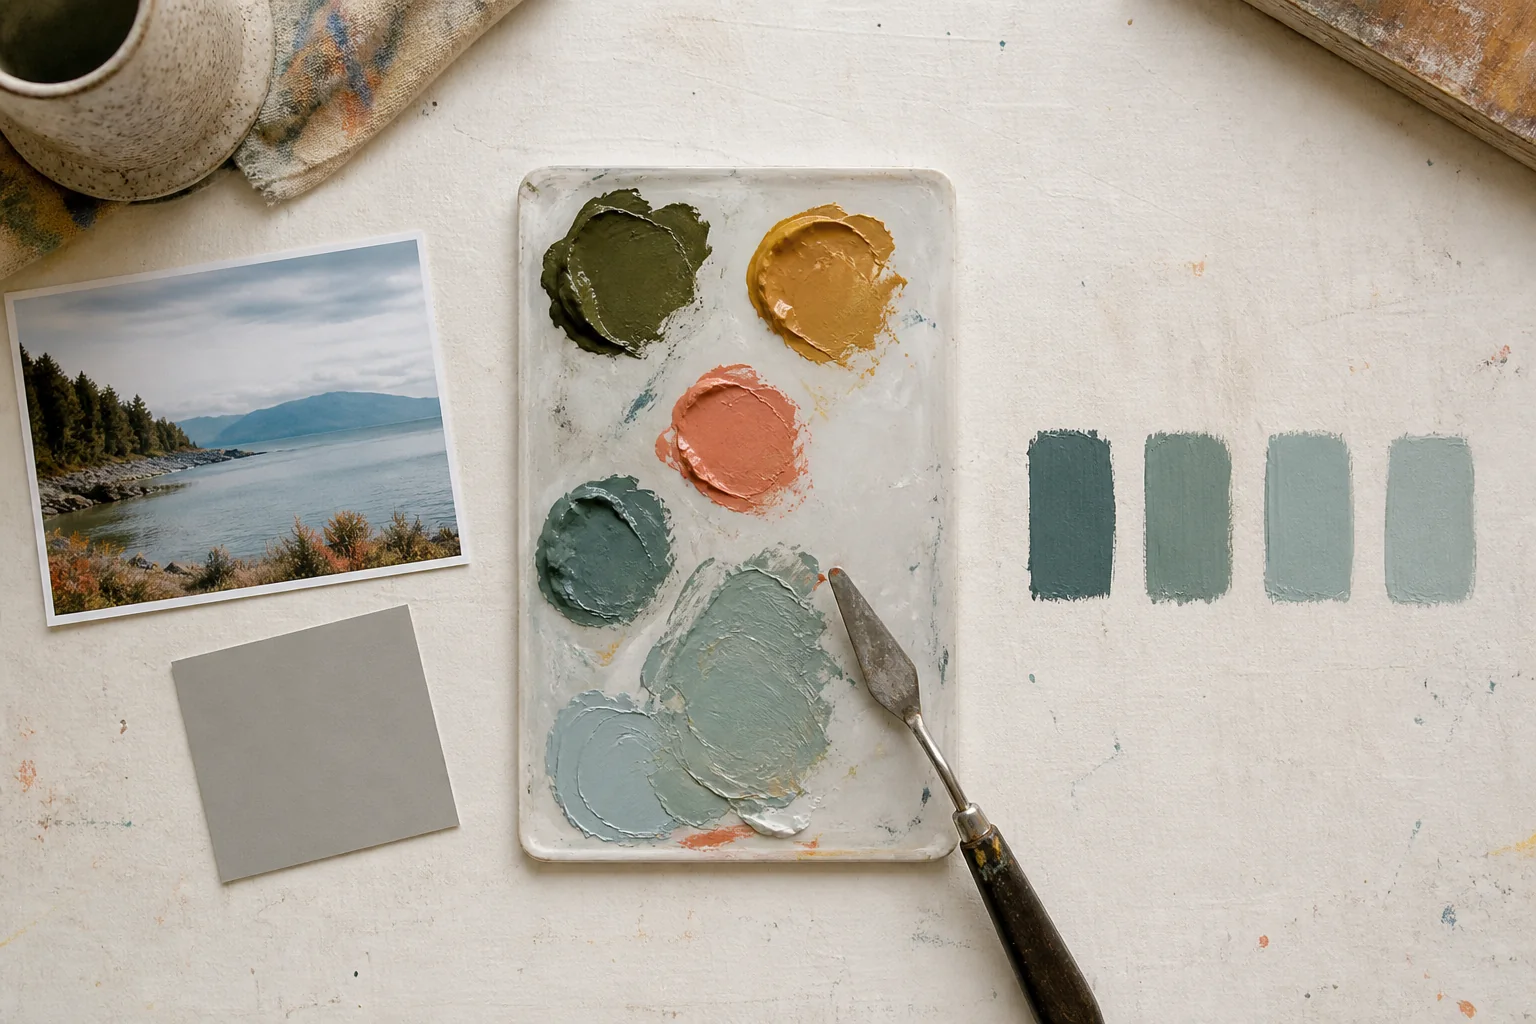
Start here
The short answer
Choose one small midtone area in the reference, identify its hue, value and chroma, and mix with the fewest paints that can reach it. Brush the mixture onto the same ground as the painting, let it dry, then correct only one property at a time. A screen sample is a starting target, not proof that the physical paint is correct.
Controlled starting method
Build the first mix in four measured moves
Use parts, not drops. A part can be the same palette-knife scoop each time, which makes the result easier to repeat and adjust.
| Move | Starting amount | Purpose |
|---|---|---|
| Light base | 8 parts | Establish the approximate value before strong pigments take over. |
| Dominant hue | 2 parts | Move the base toward the main color family in the sampled area. |
| Secondary hue | 1/2 part | Adjust temperature without changing several variables at once. |
| Complement or earth | 1/8 part | Reduce chroma only when the mixture is visibly too vivid. |
These proportions describe a control method rather than a universal color formula. Tinting strength varies sharply by pigment and brand.
01
Choose a target the paint can answer
Do not begin by matching the whole photograph. Light, shadow, reflections and camera processing can place many different color families inside one object. Select a small local area that matters to the painting and begin with a midtone. Midtones usually reveal the underlying hue more reliably than a clipped highlight or a deep shadow.
If the reference is textured, sample a small averaged area rather than a single pixel. One pixel may be glare, compression noise or a sharpened edge. Record whether the source is under warm indoor light, cool daylight or a strong color cast. That lighting note explains why a mathematically sampled color may not look believable in the painted scene.
- Start with one midtone target.
- Keep highlights and shadows as separate future mixtures.
- Judge the target inside its surrounding colors, not against white alone.
02
Translate the sample into hue, value and chroma
Describe the target before touching the palette. Hue is the color family, value is how light or dark it is, and chroma is how intense or muted it appears. A useful note might read “light blue-green, slightly warm, low chroma.” This description gives every paint addition a reason.
Value errors are often mistaken for hue errors. Squint at the target and the test pile, or compare both in grayscale, before adding another color. If the values are far apart, correct that relationship first. Once the value is close, decide whether the mixture needs to move warmer or cooler, then reduce chroma only if it still appears too clean.
03
Limit the palette and respect pigment strength
Choose only tubes that are already part of the painting. A compact palette makes the mixture easier to understand and keeps it related to surrounding passages. Begin with the lightest practical component, then introduce high-strength pigments with the tip of a palette knife. Phthalo colors can overpower a light mixture with much less volume than an earth pigment.
Avoid adding black automatically when the target is dark or muted. A complementary pair such as ultramarine and burnt sienna can lower chroma while preserving a useful undertone. Keep a small amount of the clean base untouched so an over-neutralized mixture can be rebuilt without starting from zero.
04
Test the real surface and let acrylic dry
Brush a small swatch onto the same ground, primer and texture used by the painting. Film thickness, absorbency and gloss can change the apparent color. Place the swatch close to the painted area when possible because simultaneous contrast can make the same mixture look different against two backgrounds.
Let the test dry naturally before making a final correction. Acrylic medium changes from milky to clear as water leaves the film, and the cured color may look darker or cleaner. Compare under stable neutral light and tilt glossy samples so a reflection is not mistaken for a value difference.
05
Correct one variable and record the recipe
Name the largest remaining error: too light, too dark, too warm, too cool, too vivid or too gray. Change only that property in the next small batch. Multiple simultaneous additions make it impossible to know which pigment solved the problem and often push the mixture past the target.
Record the final parts, pigment codes, brand, surface and lighting. Photograph the dry swatch beside a neutral card if a digital record is useful, but keep the physical sample as the authority. The goal is not a perfect hexadecimal conversion; it is a recipe that can be remixed predictably in the actual painting.
Troubleshooting
Correct the most common matching errors
Diagnose the visible difference before adding paint. The smallest controlled correction is usually the most informative.
| What you see | Likely cause | Next correction |
|---|---|---|
| Right hue, but it jumps forward | Chroma is too high | Add a trace of the complement or an earth already in the palette. |
| Looks close on screen, wrong on canvas | Different light, surface or display | Trust a dry swatch on the painting ground under stable light. |
| Mixture becomes muddy | Too many pigments or too much complement | Return to a clean base and neutralize in smaller increments. |
| Every correction overshoots | No repeatable measurement | Use equal palette-knife parts and write down each addition. |
Free studio printables
Record the test instead of guessing again.
Use the worksheet beside the palette, then keep the dry result with the painting notes. Each PDF is free, low-ink and formatted for US Letter paper.
See both printables and the full methodStudio questions
Questions painters ask
Can a screen color be matched exactly in paint?
Not always. Screens emit light while paint reflects it, and real pigments have opacity, undertone and surface texture. Use the screen value as a starting target and verify with a physical swatch.
Should I sample one pixel?
Use a small averaged area when the photo is noisy or textured. A single pixel can represent compression, glare or camera noise rather than the color you perceive.