
Useful studio color
How to mix sage green acrylic paint
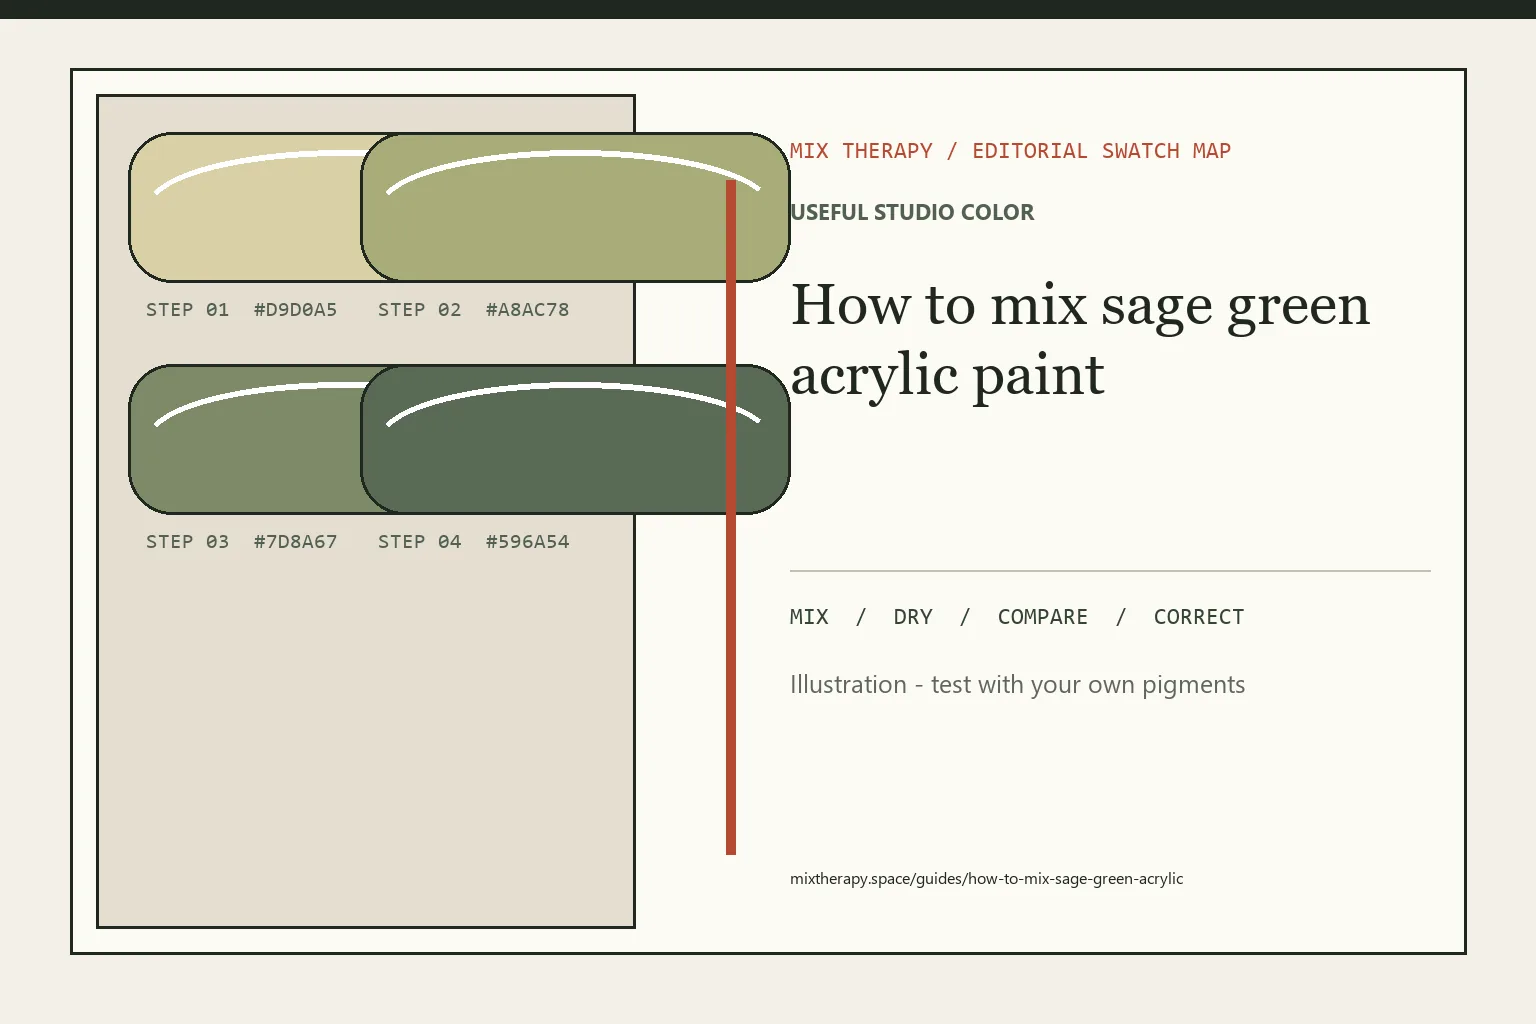
Sage green is a muted yellow-green, not simply green plus white. Its character comes from balancing a warm green foundation with enough neutralization to feel natural while preserving a readable hue.
Start here
The short answer
Mix a yellow-biased green first, then mute it with a very small amount of burnt sienna, burnt umber or another controlled red-earth neutral. Pull that concentrate into white only after the hue and chroma are close. Sage should remain visibly green after it dries; if it turns gray or minty, return to a clean green branch instead of adding more white.
Sage controls
Keep the green visible while lowering chroma
Build and mute the green before setting its final value.
| Result | Direction needed | Controlled adjustment |
|---|---|---|
| Too minty | Warmer and quieter | Add yellow ochre or a trace of burnt sienna. |
| Too olive | Lighter or cooler | Return clean green, then add white gradually. |
| Too gray | More green identity | Restore the saved yellow-green concentrate. |
| Too bright | Lower chroma | Add a measured red-earth neutral. |
Strong blues and complements can move a pale mixture quickly. Use a palette-knife tip and keep a clean reserve.
01
Read the reference before mixing
Sage can lean toward yellow, gray, blue, or olive depending on the object and its light. Before mixing, place a small neutral gray beside the reference and ask whether the green looks warmer or cooler than that gray. This simple comparison is more useful than naming a tube color because it tells you which direction to move the first pile.
Keep the target area small. A leaf in shade may look like a different sage from a sunlit leaf on the same plant. Mix the local color that belongs in one passage, then use it as the parent for nearby lighter and darker variations.
02
Make a controllable green concentrate
Start with yellow and add blue in tiny amounts until the mixture is clearly green but still yellow biased. Put aside a clean spoonful before muting it. This reserve is useful when an earth color goes too far and saves you from adding several unrelated paints to recover the hue.
Use a palette knife for the concentrate and clean it before moving to white. Strong blues can stain a pale mixture quickly, especially phthalo blue. A small concentrate gives you room to adjust the final value without creating a large batch you do not need.
03
Neutralize with an earth you can identify
Burnt sienna, burnt umber, red oxide, and a mixed red-green neutral do not make the same sage. Choose one that already appears elsewhere in the painting so the new green shares an ingredient with its surroundings. Add it with the corner of a knife, mix fully, and spread a thin edge to reveal the undertone.
If the mixture turns gray before it feels quiet, rebuild from the reserved green. More white will make that gray lighter, but it will not bring back the lost color relationship. A modest neutralization usually reads more convincing than an aggressively dulled pile.
04
Mix light and shadow as related families
For the light family, pull the finished sage into white and warm it with a touch of yellow ochre when needed. For the shadow family, deepen a separate portion with ultramarine and a small earth. This keeps the shadow connected to the base while avoiding the heavy look that comes from adding black immediately.
Lay the three mixtures beside one another on the painting ground. A good sage sequence changes value first and temperature second. If the light is minty, warm it slightly. If the dark becomes blue-black, return some of the yellow-earth base rather than adding more white.
05
Dry swatch and record the useful version
Brush each variation at roughly the same thickness you plan to paint. Acrylic can look different when the water leaves the film, and a matte ground may make a muted green appear softer than a glossy one. Compare the dry swatches under the light where the painting will be judged.
Write the pigment names or color-index codes beside the successful mixture, plus the ground and any medium. For a second natural green route, compare this method with the olive green guide. The avocado green guide is useful when the target needs more yellow and earth.
Troubleshooting
Correct a sage green that missed the target
Name whether hue, value or chroma is wrong before making the next addition.
| Symptom | Likely cause | Next correction |
|---|---|---|
| Looks minty | Too much white or cool blue | Warm with yellow ochre or a restrained earth. |
| Looks gray | Complement overshot | Rebuild from the reserved yellow-green concentrate. |
| Looks olive-brown | Earth pigment dominates | Restore clean green before changing value. |
| Dries too dark | Wet value was judged as final | Start a lighter branch and repeat the dry swatch. |
Free studio printables
Record the test instead of guessing again.
Use the worksheet beside the palette, then keep the dry result with the painting notes. Each PDF is free, low-ink and formatted for US Letter paper.
See both printables and the full methodAt the easel
Compare it in the painting
When a sage mixture will sit beside leaves, fabric, or a painted wall, mix a small amount of each neighboring color into separate test swatches. The best sage is often the one that allows the warmer and cooler neighbors to keep their role. This comparison can show that the original target needs less white or a quieter earth note even when the isolated swatch seemed close.
Small studio study
Test the color in context
For a plant study, make three short leaf-shaped marks from the light, middle, and shadow piles instead of three square swatches. Leave a small gap between marks so the ground shows through, then compare their edges with the reference. This reveals whether the shadow is too blue or whether the light has become too opaque. Adjust the middle pile first when the family feels disconnected. It is the bridge between the other two values and usually needs the least dramatic correction.
Before the final pass
Make one last comparison
Before committing the sage to a larger passage, compare a dry stroke beside a warm neutral and a cool neutral from the same painting. If it changes character in both comparisons, simplify the mixture. A restrained green often needs fewer corrections when its value is already close.
Studio questions
Questions painters ask
What if sage green looks too minty?
Warm and mute it with a small amount of yellow ochre or burnt sienna. Avoid adding black first because it can cool and flatten the mixture.
Can I mix sage with only primary colors?
Yes. Build a yellow-biased green, neutralize it with a trace of red, then raise the value with white.